How to Install DNG Presets
1. Download DNG file from PixelPeeper
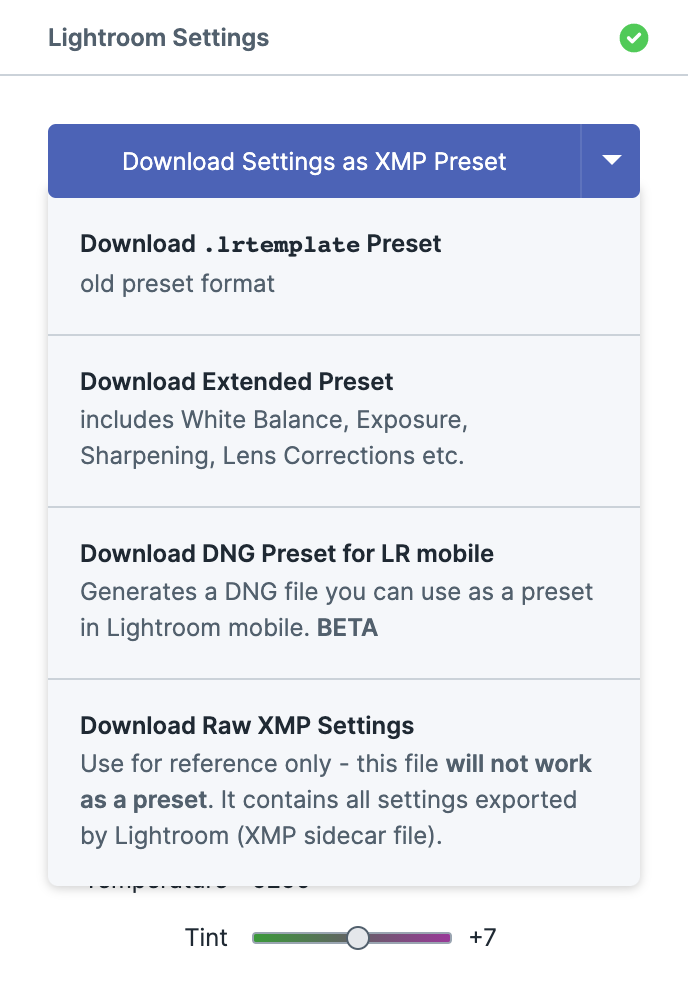
2. Import DNG file to your mobile device
Next, you‘ll need to put the file on your phone/tablet. There are a few ways to do it:
- download it directly from pixelpeeper.com on your mobile device and save to files
- use a Dropbox folder
- on iOS, you can use iCloud Drive
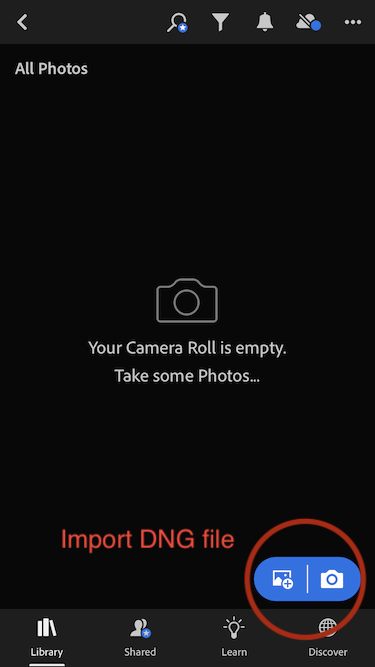
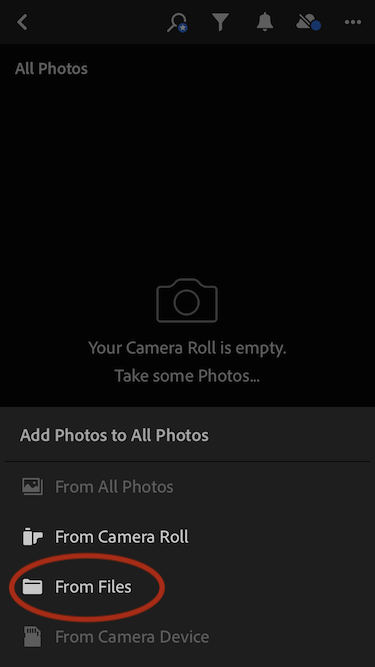
3. Open Lightroom on your phone and import DNG
Find the DNG file and import it to Lightroom:
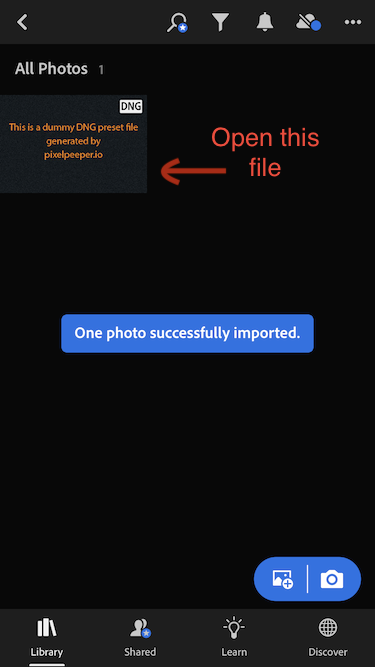
4. Create a preset from DNG file
Open the DNG file and create a preset from it:
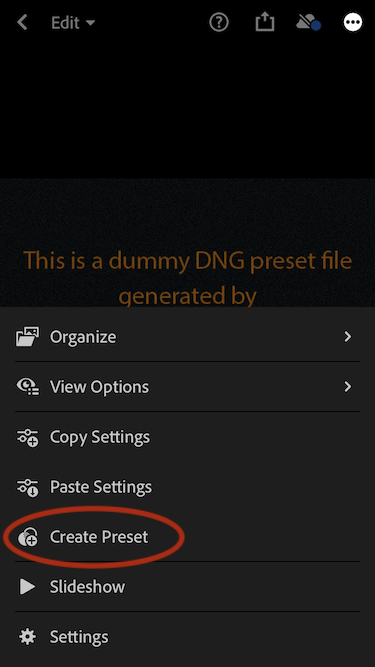
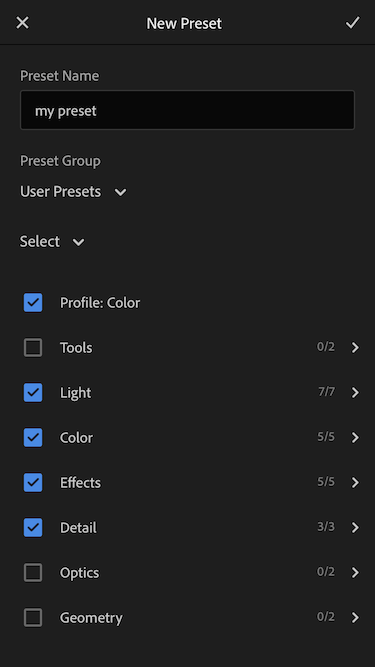
Save preset by tapping on the check-mark icon in the upper right-hand corner.
5. Apply preset to your own photos
You can now delete the DNG file.
Preset is now saved in Lightroom, so you can open your own photos and apply settings:
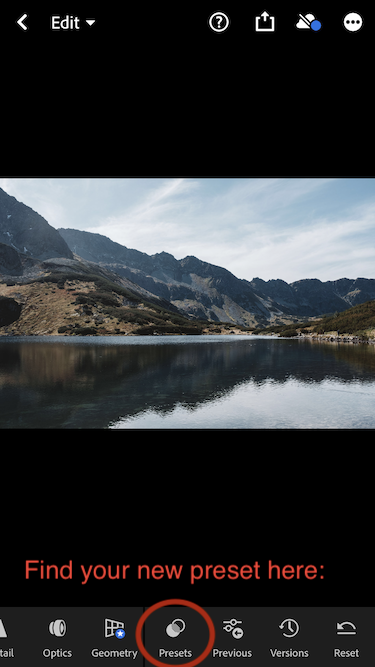
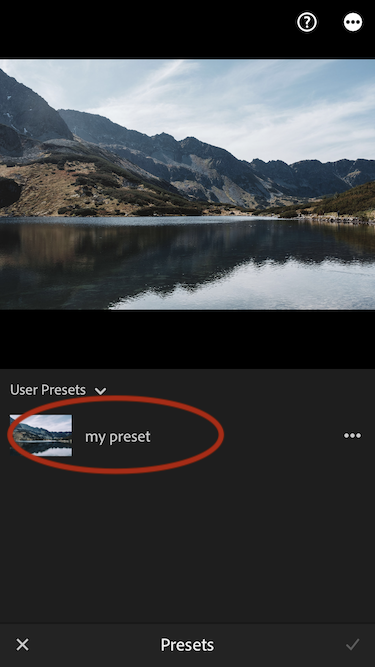
IMPORTANT NOTE: Keep in mind that the dummy DNG file will always look the same: it’s just a hack to transfer presets to Lightroom mobile, until Adobe adds support for XMP file format.
Because of that, you may want to avoid importing multiple presets at once, because it will be hard to differentiate between them.